The Legend of Mala Tokmachka Ground Defense Guide
Stop ground forces from punching through the lower floors while air threats stay covered elsewhere.
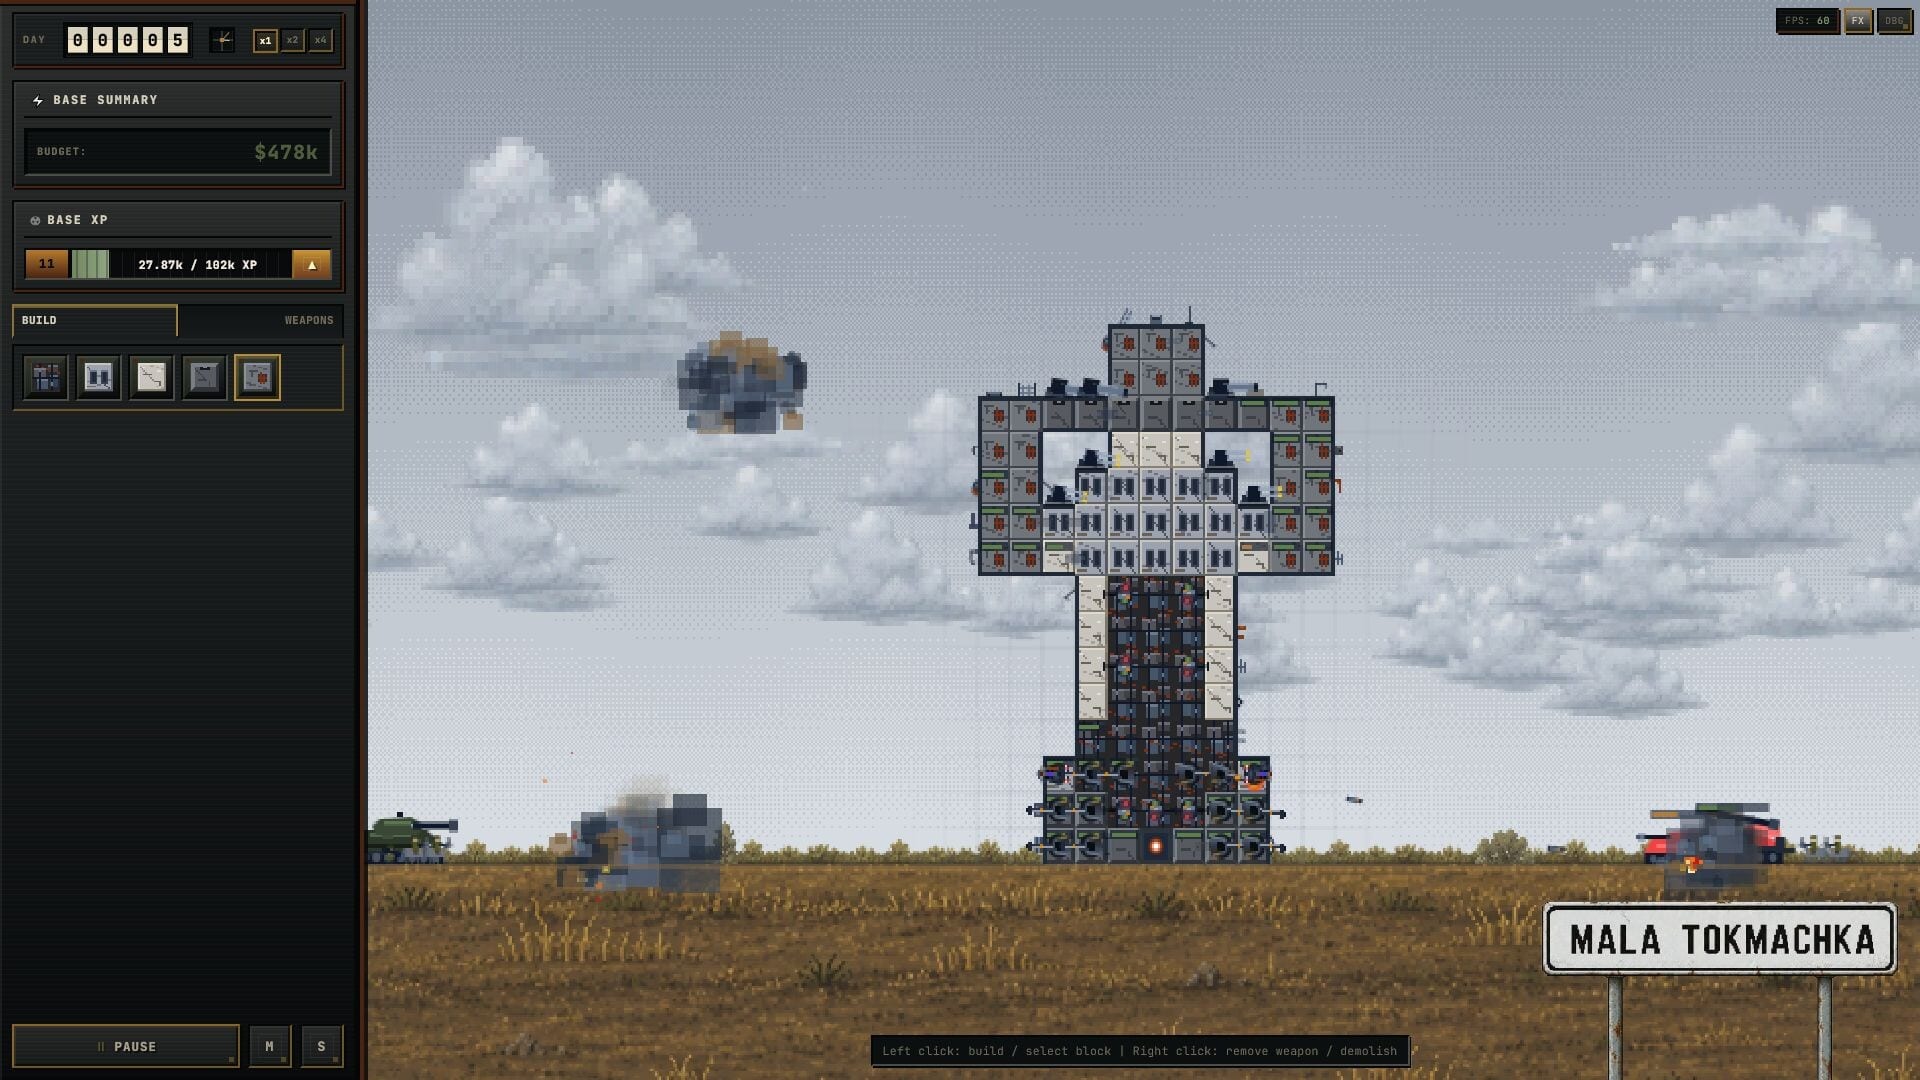
Ground forces in The Legend of Mala Tokmachka pressure the base from below — Steam’s exact phrasing for infantry assault groups, armored vehicles, and the artillery that softens your walls before a push. Many preview players over-invest in height and anti-air, then lose because a cheap ground breach cascades upward. This guide complements Anti-Air Defense with lane design, weapon pairing, and repair triage for everything that rolls or walks on the surface.
Numbers below are preview roles until post-launch datamining confirms DPS and armor values.
Ground threat categories
Official materials list these ground-relevant attackers:
| Threat | Behavior (preview) | Primary counter |
|---|---|---|
| Assault groups | Swarm weak facings | Machine guns, overlapping fields |
| Armored vehicles | High HP, slow push | Cannons, missiles |
| Artillery | Long-range wall damage | Repair timing, radar (if spotting helps) |
| Combined push | Infantry + armor same lane | Split weapon types per floor |
Full matchup tables live in Enemies and Threats. Air-only threats are intentionally excluded here — see the anti-air guide.
Fortress geometry for ground lanes
Ground defense starts in Fortress Building:
- Identify approach sides — Most preview maps appear to favor horizontal lanes toward the fortress core.
- Create kill boxes — Indent walls so guns fire obliquely, increasing time on target.
- Avoid hollow bases — A single breach should not expose generators; use internal bulkheads.
- Lower-floor priority — Ground damage hits the foundation first; armor lower levels before cosmetic height.
Compact bunkers excel at ground defense; tall spires without lower guns invite “base amputation” when artillery cracks the ground floor.
Weapon roles on the ground
Steam confirms machine guns, cannons, missile platforms, and lasers. Ground-focused preview assignments:
Machine guns
- Best against assault groups and cleanup.
- Weak against heavy armor unless upgraded (confirm post-launch).
- Cheap enough to duplicate on multiple facings.
Cannons
- Primary anti-armor answer in preview tier lists.
- Slower rate — place where vehicles must slow or turn.
- Pair with machine guns on the same lane for swarms + tanks.
Missiles (ground use)
- Likely high burst against clusters or elite vehicles.
- Power-hungry — requires Radar and Power Systems.
- Overkill for early waves; add when artillery starts deleting walls.
Lasers
- Precision and sustained fire in trailer shots.
- Probably power-intensive; use as premium lane holder, not spammable.
See Weapons tier list for preview rankings.
Artillery and structural damage
Artillery behaves differently from direct assault: it forces repair decisions under timer pressure. Ground defense vs artillery is half guns, half economy:
- Pre-wave repair — Patch cracks before the next shell volley.
- Sacrifice outer shells — Let decorative blocks die to save gun floors.
- Radar synergy — If spotting reduces blind bombardment, install before wave spikes.
Repair and Resources covers budgeting; ground players feel artillery most when money is short.
Sample preview loadouts
Early waves (days 1–2 preview)
- Double machine gun facing primary lane.
- One cannon offset for first armor appearance.
- Minimal height; solid ground-floor walls.
Mid preview (when artillery appears)
- Add second cannon or first missile.
- Internal repair module online.
- Begin Anti-Air Defense — combined arms arrives together in Steam copy.
Late preview philosophy
- Wide platforms with alternating MG/cannon pairs.
- Missile or laser on power spine for elite armor.
- Compare templates in Best Builds.
Common ground-defense mistakes
- All guns on top floor — Ground breach leaves you shooting at the sky.
- Single weapon type — Swarms waste cannon DPS; armor walks through machine guns.
- Ignoring artillery chip damage — Small HP losses stack into catastrophic collapse.
- Chasing height before width — Vertical meme forts fail when the ground floor is paper.
- No fallback repair — Saving zero money before a ground-heavy wave.
Coordination with air defense
Combined arms is the default endgame pressure. Ground defense succeeds when:
- Lower floors handle armor and infantry.
- Mid and upper floors host AA overlapping ground lanes.
- Power spine feeds both without brownouts.
Walk the combined checklist in Walkthrough: First Days.
Related pages
| Topic | Link |
|---|---|
| Layout | Fortress Building |
| Sky | Anti-Air Defense |
| Economy | Repair and Resources |
| Threat chart | Enemies and Threats |
| Quick stats | Module Reference |
Post-launch
We will add confirmed enemy HP, armor types, and optimal TTK once the community publishes tables. Watch Updates hub for patch notes affecting ground units.
Frequently Asked Questions
Quick answers to the most common questions.
Is ground defense more important than anti-air?
Both matter. Steam stresses combined pressure — neglect either and breaches cascade.
Best early ground weapon?
Preview consensus: machine gun plus one cannon lane before specializing.
How to stop artillery?
Repair between waves, armor critical floors, add missiles or lasers when budget allows.
Does terrain matter?
Unknown pre-launch — layout guides assume standard approach lanes from trailers.
Ground-only build viable?
No for late waves — aircraft and drones appear in official threat lists early.